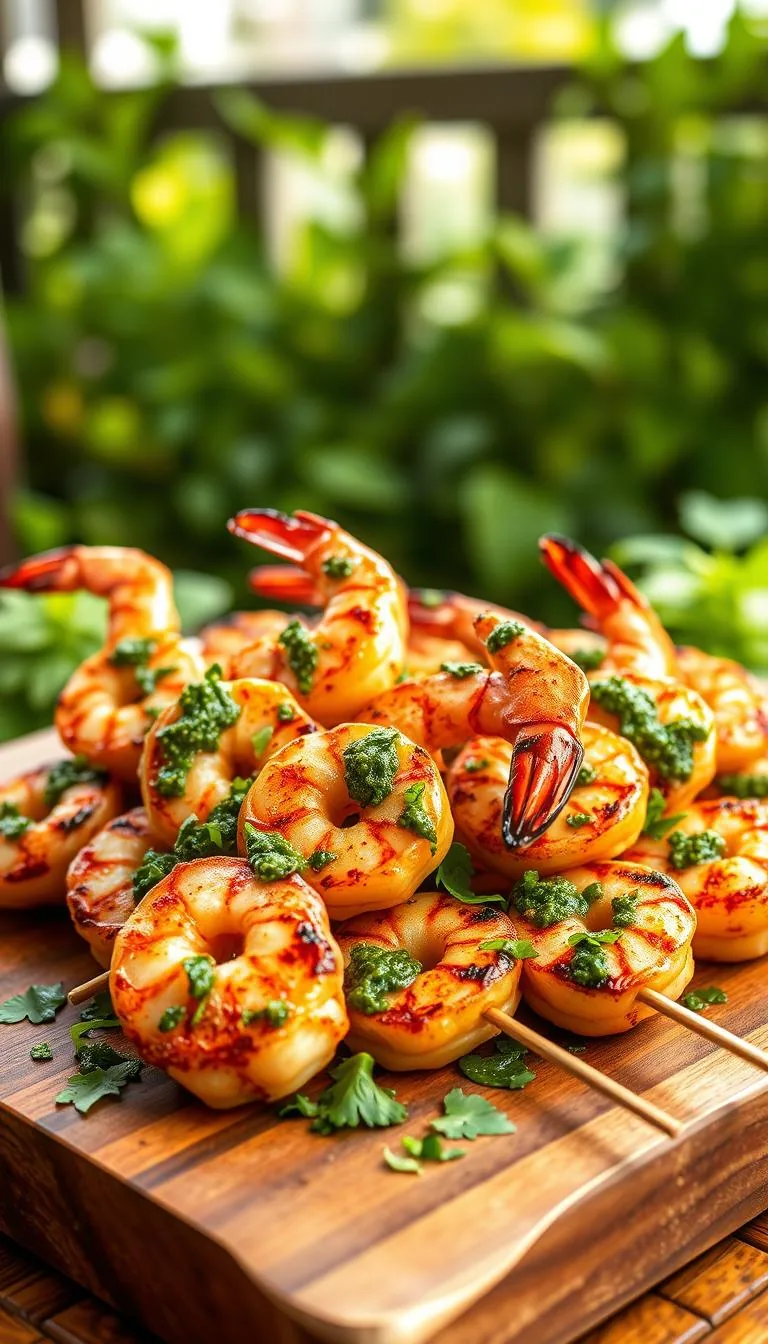
Welcome to one of my absolute favorite summer cooking adventures! I'm so excited to share these incredible seafood skewers with vibrant chimichurri. They'll make your taste buds dance with joy.
This amazing recipe combines perfectly seasoned, juicy prawns with a fresh, herbaceous sauce. It's bursting with bright flavors. Whether you're hosting a backyard barbecue or planning a casual dinner party, these tasty treats deliver restaurant-quality results right from your own grill!
The best part? They're ready in under 20 minutes! This makes them perfect for busy weeknights or last-minute entertaining when you want something special.
I'll walk you through every step to ensure your seafood turns out tender, smoky, and absolutely delicious every single time. Trust me - once you try these flavorful skewers, they'll become your go-to crowd-pleaser!
Key Takeaways
- Ready in under 20 minutes for quick weeknight dinners
- Perfect for backyard barbecues and casual entertaining
- Fresh chimichurri sauce adds vibrant, herbaceous flavor
- Restaurant-quality results from your home grill
- Tender, juicy seafood with perfect smoky char
- Great for both family meals and dinner parties
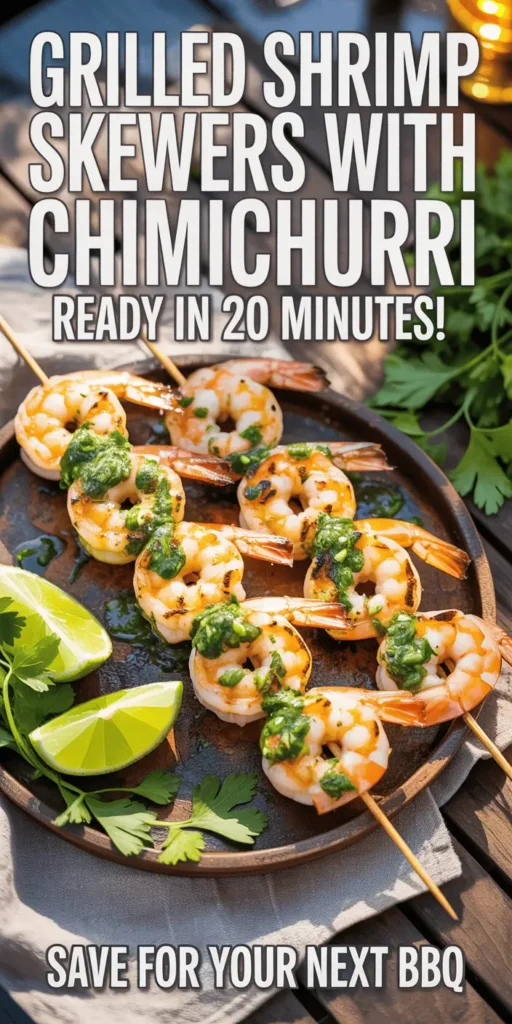
Essential Equipment and Ingredients for Perfect Grilled Shrimp Skewers
Let's get started on making restaurant-quality shrimp skewers at home! The right tools and ingredients are key to amazing results. Preparation is the secret to grilling success, and I'm excited to share these essentials with you.
Once you have everything ready, cooking becomes fun and stress-free!
Required Grilling Equipment and Tools
Your grilling equipment should be reliable and functional. A gas or charcoal grill works great for this recipe. I love the smoky flavor charcoal adds, but gas grills are convenient and control temperature well.
Long-handled tongs are essential for flipping and turning shrimp safely. These are absolutely essential for handling delicate shrimp without breaking them apart. A grill brush is also key for cleaning the grates and preventing sticking.
Don't forget skewers! You can choose between metal and wooden options. Metal skewers cook from the inside, while wooden ones need soaking in water for at least 30 minutes before use.
Fresh Shrimp Selection and Quality Indicators
Choosing fresh shrimp is where the magic begins! Look for shrimp with firm, translucent flesh that springs back when pressed. The shells should have a natural shine without any dark spots or discoloration.
My golden rule for seafood selection is that fresh shrimp should smell like the ocean. They should smell clean and briny, not fishy or ammonia-like. If they smell strongly, find another supplier.
I recommend using large or jumbo shrimp, typically 21-25 count per pound. These sizes are perfect for skewering because they're substantial and less likely to overcook.
Complete Chimichurri Ingredient List
Now, let's talk about the star of our flavor show – the chimichurri ingredients! This vibrant sauce makes grilled shrimp spectacular. You'll need fresh flat-leaf parsley as your base – about one cup packed leaves.
Fresh cilantro adds another layer of herbaceous brightness – use about half a cup. Three to four garlic cloves provide that essential punch, while red wine vinegar brings the perfect acidic balance.
High-quality extra virgin olive oil is non-negotiable here – it carries all those beautiful flavors and creates the sauce's silky texture. A pinch of red pepper flakes adds just enough heat to make your taste buds dance!
Pro tip: Having all these ingredients measured and ready before you start cooking makes the entire process flow smoothly and keeps you relaxed while grilling.
Preparing and Cleaning Shrimp Like a Professional
Getting your shrimp ready for the grill is where the magic begins! Proper shrimp preparation makes all the difference. I'll guide you through each step so you can handle your shrimp like a pro!
Restaurant-quality results come from taking your time with these steps. Your guests will notice the difference when you put in extra effort.
Peeling Methods for Optimal Skewering
Let's start with peeling. It's key to everything else! I always recommend keeping the tails on. They look great and add flavor during grilling. Here's how to do it:
- Start from the legs: Gently pull away the shell segments from the belly side
- Work toward the tail: Peel each segment carefully to avoid tearing the meat
- Leave the tail intact: This creates a beautiful presentation and prevents overcooking
- Remove any remaining shell bits: Check for small pieces that might have stuck
The shell should come off easily if your shrimp are fresh. If it's hard, your shrimp might be older. Just be gentle!
Proper Shrimp Deveining Technique
Deveining shrimp is easier than most people think! That dark line isn't dangerous, but removing it makes taste and appearance better.
Here's my simple three-step process:
- Make a shallow cut: Use a sharp paring knife to cut about 1/4 inch deep along the back curve
- Locate the vein: You'll see a dark, thread-like line – sometimes it's barely visible
- Rinse thoroughly: Hold the shrimp under cold running water and gently brush out the vein
Some shrimp have very light or no visible veins. That's perfectly normal! Don't stress if you can't find anything to remove.
Quick Brining for Enhanced Flavor
Here's my secret for amazing shrimp – brining techniques that make them spectacular! This 15-minute step is like a spa treatment for your shrimp.
My simple brine recipe works wonders:
- 1 tablespoon salt per cup of cold water
- Dissolve completely before adding shrimp
- Submerge for exactly 15 minutes – no longer!
- Pat completely dry with paper towels afterward
This quick brine plumps up the shrimp and enhances their natural sweetness. You'll be amazed at how much more flavorful they become! The salt water also helps firm up the texture, giving you that perfect bite we're all after.
Remember to pat your shrimp completely dry after brining. Moisture is the enemy of beautiful grill marks. We definitely want those gorgeous char lines on our skewers!
Creating Authentic Chimichurri Sauce from Scratch
Authentic chimichurri sauce makes grilled shrimp skewers irresistible! It's a mix of fresh herbs, tangy vinegar, and garlic. This recipe will change your grilling game forever.
Homemade chimichurri is simple yet flavorful. You'll notice a big difference when you make it yourself instead of buying it.
Traditional Argentinian Recipe Breakdown
This chimichurri recipe has the perfect flavor balance. My Argentinian friend taught me this recipe, and it's been a favorite ever after!
Here's what you need for this amazing sauce:
- 1 cup fresh parsley - the star ingredient that gives chimichurri its signature color
- ½ cup fresh cilantro - adds bright, citrusy notes
- 4 garlic cloves - provides that essential aromatic punch
- ¼ cup red wine vinegar - creates the perfect tangy balance
- ½ cup extra virgin olive oil - binds everything together beautifully
- Red pepper flakes - just a generous pinch for gentle heat
- Salt to taste - enhances all the other flavors
Herb Preparation and Chopping Techniques
Proper herb preparation is key to perfect chimichurri texture! I always chop by hand instead of using a food processor.
Start by washing your parsley and cilantro well, then dry them completely. Remove the thick stems, but keep the tiny ones for extra flavor!
Use a sharp knife to finely mince the herbs. It's important to keep them uniform in size. This herb preparation ensures every bite is flavorful and balanced.
Achieving Perfect Flavor Balance
The secret to great chimichurri is tasting and adjusting as you go! Mix all your ingredients together in a bowl, then let the magic happen.
Let your sauce sit for at least 30 minutes before serving. This resting time lets all the flavors meld together perfectly. Taste and adjust as needed - maybe add more vinegar or garlic!
Remember, great Argentinian sauce should be bright, herbaceous, and tangy. Trust your taste buds and make it your own!
Marinating Techniques for Maximum Flavor
Creating the perfect marinade for your shrimp is where the magic begins! It's my favorite part because you're about to turn those beautiful shrimp into something amazing. The secret to great marinated shrimp isn't just about the ingredients. It's all about timing and technique.
I've tried many marinade recipes over the years. But I always come back to this simple method. The beauty is in letting each ingredient shine while they work together to create incredible flavor. You'll be amazed at how much a good marinade can change things!
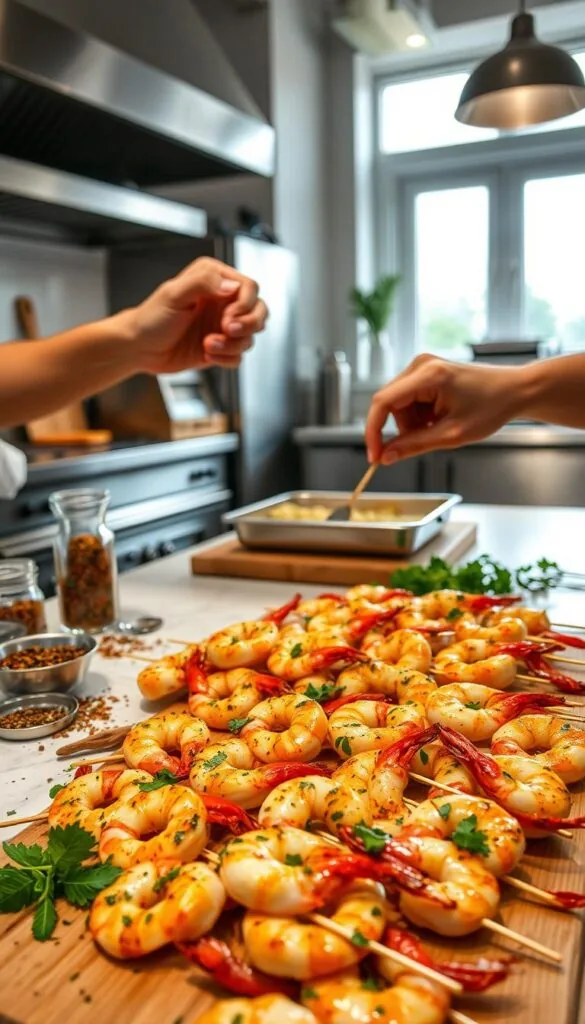
Simple Yet Effective Marinade Recipe
My go-to marinade is always a hit! I mix olive oil, fresh lemon juice, minced garlic, salt, pepper, and a touch of paprika for that golden color. Each ingredient has a special role in this flavor enhancement process.
The olive oil helps the seasonings stick and adds richness. Lemon juice brightens everything and tenderizes the shrimp. Garlic adds that aromatic punch we all love, while paprika brings color and a smoky note.
| Ingredient | Amount (1 lb shrimp) | Purpose | Flavor Profile |
|---|---|---|---|
| Olive Oil | 3 tablespoons | Base and binding | Rich, fruity |
| Fresh Lemon Juice | 2 tablespoons | Tenderizing acid | Bright, citrusy |
| Minced Garlic | 3 cloves | Aromatic depth | Pungent, savory |
| Paprika | 1 teaspoon | Color and warmth | Mild, smoky |
| Salt & Pepper | To taste | Seasoning base | Enhancing natural flavors |
Optimal Marinating Duration and Temperature
Timing is key when marinating shrimp! Marinated shrimp only needs 15 to 30 minutes. Remember, any longer and the acid from the lemon will cook the shrimp, making it tough.
Always marinate in the fridge to stay safe. I use a glass bowl or zip-lock bag for easy cleanup. About 10 minutes before grilling, I take the shrimp out of the fridge to warm them up.
This helps them cook evenly and prevents that rubbery texture. Cold shrimp on a hot grill can shock the protein and make it tough!
Enhancing Natural Shrimp Sweetness
The goal of any great marinade is to enhance the shrimp's natural sweetness. My recipe balances the flavors so each bite is perfect. You get the marinade flavors and the shrimp's taste.
The flavor enhancement happens when the marinade just touches the shrimp's surface. This creates amazing caramelization when they grill, making those golden edges that make your mouth water.
I love how the shrimp's sweetness shines through, with garlic and lemon adding complexity. It's like giving your shrimp the perfect supporting cast – everyone plays their part beautifully!
Expert Skewering Methods and Tips
Learning to skewer shrimp can take your grilling from basic to expert! The right skewer techniques are key to cooking shrimp perfectly. I've picked up these tips over years of grilling and can't wait to share them with you!
Choosing the right skewer and how you thread it affects cooking. Mastering these barbecue methods means no more unevenly cooked shrimp.
Choosing Between Metal and Wooden Skewers
Metal skewers are my go-to because they heat evenly! They cook shrimp from the inside out, ensuring even results. Plus, they're reusable and good for the planet.
Metal skewers also keep the handles cool, making flipping safer. They're sturdy, even with big shrimp.
Wooden skewers are great for casual grilling. Just soak them in water for 30 minutes before using. This prevents burning and keeps your skewers looking nice.
Proper Threading Technique for Even Cooking
My professional secret is to thread shrimp through both ends for a "C" shape. This keeps them secure and cooks evenly.
Leave a quarter inch between each shrimp. This lets heat circulate, avoiding hot spots that can overcook.
I skewer 4-5 large shrimp per stick for a fancy look. This also makes serving easy and ensures everyone gets a good piece.
Preventing Shrimp from Spinning During Grilling
Spinning shrimp can be a real pain! My favorite fix is the double skewering technique – using two skewers side by side.
This keeps shrimp stable and flipping easy. Your shrimp will grill evenly on both sides.
Flatten shrimp slightly before skewering. Press them down with your palm for better contact with the skewer. This reduces spinning and improves grill marks.
These skewer techniques might seem small, but they make a big difference. Mastering them means you'll grill shrimp perfectly every time!
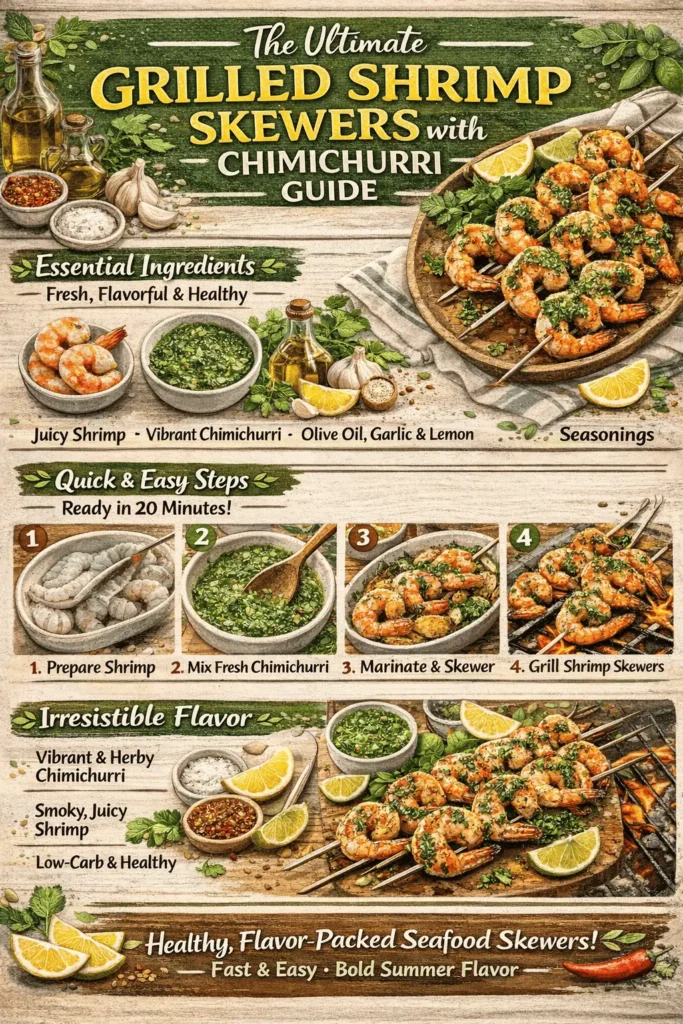
Mastering Grilling Techniques for Grilled Shrimp Skewers
There's nothing like perfectly grilled shrimp. They have that smoky char and tender bite that's just perfect. Learning these grilling techniques will make your backyard barbecue shrimp taste like they're from a restaurant.
It's all about knowing your grill and the delicate shrimp. They cook fast, so you need to be precise.
Optimal Grill Temperature and Setup
Your grill temperature is key. I preheat mine to medium-high, about 400°F. This heat gives you a great sear without making the shrimp tough.
Clean and oil your grates well. A clean grill is essential for avoiding stuck shrimp. Use a paper towel with oil to coat the grates before cooking.
Use direct heat for grilling. If you have a gas grill, keep one burner off for indirect heat.
Timing and Visual Doneness Indicators
Grilling shrimp is an art. They cook fast, so watch them closely. Don't rely on the clock, but on how they look.
Look for a change from gray to pink. When done, they should curl into a loose "C" shape. A tight "O" shape means they're overcooked.
A gentle press test is also helpful. Perfect shrimp are firm but slightly soft. Hard shrimp are overcooked.
Preventing Overcooking and Rubber Texture
Don't overcook your shrimp! Take them off the grill when they're pink and opaque. The internal temperature should be 120°F, but trust your eyes more.
Remove skewers when they look done. They'll cook a bit more from the heat. Trust the process and don't second-guess yourself!
"The secret to great grilled shrimp is knowing when to stop. Less is always more when it comes to cooking time."
Creating Beautiful Grill Marks
Grill marks add flavor and look great. Place skewers on the grill and resist the urge to move them around. Let them sear for 2-3 minutes.
For crosshatch marks, rotate skewers 45 degrees halfway through. Patience is key here.
When you flip, you'll hear a sizzle and see char lines. That's success in outdoor cooking!
Professional Serving and Presentation Ideas
Beautiful presentation makes grilled shrimp skewers stand out as party food or restaurant-quality appetizers. Serving and displaying your skewers can turn a simple meal into a memorable experience. Guests will remember it long after they finish eating!
I enjoy creating stunning displays that make people want to take photos before they even taste the food. The vibrant colors and fresh ingredients offer many chances to create visual magic!
Elegant Plating Techniques
Start with a large white or neutral-colored platter as your canvas. This makes the pink shrimp and green chimichurri stand out. Arrange the skewers in a fan pattern or neat rows, leaving space for easy grabbing.
Place small bowls of chimichurri sauce around the platter for easy dipping. Use odd numbers of bowls, like three or five, for visual balance. This setup encourages mingling and creates natural conversation spots.
For formal occasions, serve individual portions on small plates. Drizzle with chimichurri and place a skewer at an angle. This works beautifully for seated dinners or when you want to control portion sizes.
Complementary Side Dishes and Accompaniments
These skewers pair well with light, fresh sides that complement the bold chimichurri flavors. Grilled vegetables like zucchini, bell peppers, and asparagus add color to your table.
Rice pilaf or coconut rice provides a neutral base for extra chimichurri sauce. For entertaining ideas that wow, serve with warm pita bread or crusty baguette slices for dipping.
Fresh salads also work well! A simple arugula salad with lemon vinaigrette or a cucumber tomato salad adds refreshing contrast. These combinations make your appetizer recipes feel like a complete meal.
Garnishing with Fresh Herbs and Citrus
Fresh lime wedges are essential – they add bright color and extra citrus zing. Arrange them around the platter's edge for easy access and visual appeal.
Sprinkle extra chopped parsley, cilantro, or oregano over the display for a restaurant-quality finish. Cherry tomatoes cut in half add gorgeous red color and complement the Mediterranean flavors perfectly.
For special occasions, add edible flowers like nasturtiums or pansies. They're optional but create a wow factor that makes your presentation memorable. Remember, people eat with their eyes first, so make it beautiful!
Storage, Reheating, and Make-Ahead Strategies
Mastering make-ahead techniques is the secret to stress-free entertaining. These strategies make grilling easy and fun. They also enhance flavors and save time on the big day.
Smart meal prep makes hosting easy and fun. The best part? Your chimichurri sauce gets better with time, getting richer and more complex.
Proper Storage Methods for Leftovers
Here are the golden rules for food storage to keep your shrimp skewers fresh. First, remove leftover shrimp from skewers to prevent drying.
Store cooked shrimp in airtight containers in the fridge for up to two days. Use shallow containers for quick cooling.
For chimichurri sauce, transfer it to a clean jar with a tight lid. This sauce stays fresh in the fridge for up to a week. The flavors deepen and become more harmonious over time.
- Cooked shrimp: Remove from skewers, store in airtight containers for 2 days maximum
- Chimichurri sauce: Refrigerate in sealed jars for up to 1 week
- Raw marinated shrimp: Use within 24 hours for optimal freshness
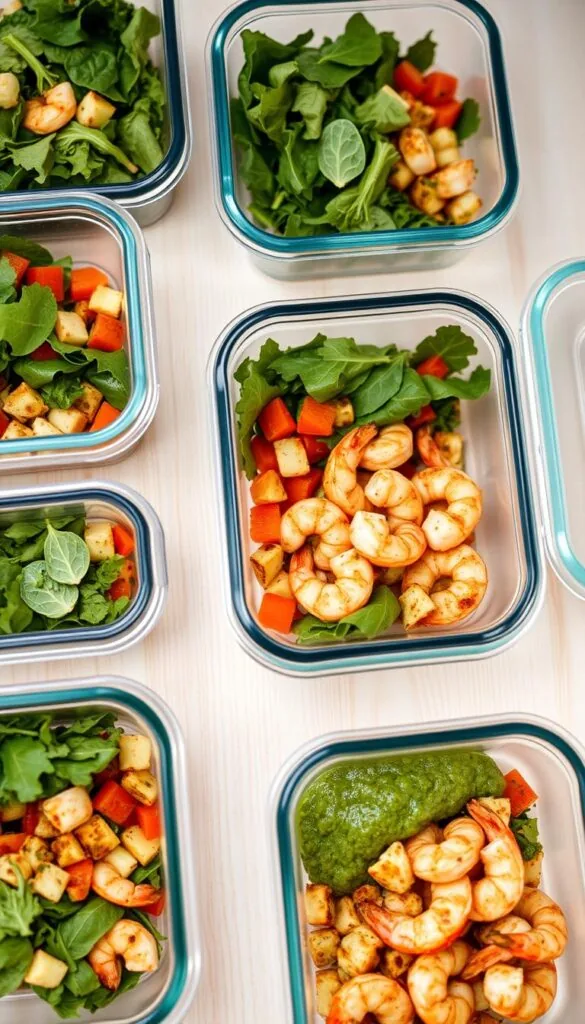
Reheating Techniques Without Overcooking
Gentle reheating is key to keep shrimp tender. Shrimp cooks even after removed from heat, so be careful.
My favorite reheating method is to quickly sauté shrimp in a hot pan for 30 seconds. This keeps them tender.
Consider using leftover shrimp cold! They're great in salads, grain bowls, or pasta dishes. Sometimes the best reheating technique is no reheating at all!
Preparing Components in Advance
These make-ahead recipes strategies will change your entertaining game! Prep and skewer marinated shrimp up to four hours before grilling. Keep them chilled until grilling time.
Chimichurri sauce gets better with time. The herbs and garlic meld together beautifully, creating deeper flavors.
Here's my timeline for stress-free preparation:
- Day before: Prepare chimichurri sauce and refrigerate
- Morning of: Clean, marinate, and skewer shrimp
- 2 hours before guests arrive: Set up your grilling station
- 30 minutes before: Remove shrimp from refrigerator to reach room temperature
This approach ensures everything runs smoothly while delivering maximum flavor impact. Your guests will be amazed by the flavors, and you'll feel relaxed and prepared!
Common Mistakes to Avoid and Troubleshooting Tips
Let's tackle the most frequent grilling challenges so your shrimp skewers turn out perfect every single time! Even seasoned cooks make mistakes, but with these cooking tips and troubleshooting strategies, you'll avoid the most common pitfalls. I've seen it all in my years of grilling, and I'm here to help you navigate through any issues that might come up!
Preventing Dry and Overcooked Shrimp
The biggest mistake I see home cooks make is overcooking their shrimp! These little beauties cook incredibly fast – we're talking 2-3 minutes per side max. Remember, shrimp continue cooking from residual heat even after you remove them from the grill.
Watch for these visual cues to know when your shrimp are perfectly done. They should turn pink and opaque, with a slight C-curve shape. If they curl into tight little Os, you've gone too far!
Here's my foolproof method: Remove the shrimp when they're about 80% done. The remaining heat will finish the cooking process while you're plating. This simple trick prevents that dreaded rubber texture that ruins perfectly good seafood.
Chimichurri Consistency and Flavor Issues
Chimichurri problems are totally fixable with these troubleshooting recipes adjustments! If your sauce tastes too sharp or acidic, simply add more olive oil to mellow it out. The oil acts as a buffer and creates that perfect creamy consistency we're after.
On the flip side, if your chimichurri tastes bland or flat, it needs more punch! Add extra minced garlic, a splash more vinegar, or a pinch of red pepper flakes. Don't be afraid to taste and adjust as you go.
The texture should be chunky but not chunky enough to fall off your shrimp. If it's too thick, thin it with olive oil. Too thin? Add more chopped herbs to bulk it up.
Skewer and Grilling Safety Tips
Safety first when it comes to grilling safety – it's not worth risking burns or accidents! Always test your grill temperature using the hand method. Hold your hand about 3 inches above the grates. If you can keep it there for 3-4 seconds, you've got medium-high heat.
Keep a spray bottle filled with water nearby for flare-ups. Never leave your grill unattended, even for a minute! Shrimp cook so fast that stepping away can mean the difference between perfect and overcooked.
If your shrimp are sticking to the grates, your grill isn't hot enough or the grates need more oil. Clean, well-oiled, hot grates are your best friend for perfect grill marks.
| Problem | Cause | Solution | Prevention |
|---|---|---|---|
| Rubbery Shrimp | Overcooked | Remove earlier next time | Watch for C-curve shape |
| Shrimp Sticking | Grates not hot/oiled | Oil grates better | Preheat grill properly |
| Bitter Chimichurri | Too much vinegar | Add more olive oil | Taste as you mix |
| Bland Sauce | Not enough acid/garlic | Add vinegar and garlic | Season generously |
Don't panic if things don't go perfectly the first time – that's completely normal! Grilling is all about practice and having fun with it. Every mistake is a learning opportunity that makes you a better cook.
These cooking tips will help you troubleshoot any issues that come up. Remember, confidence comes with practice, so fire up that grill and keep experimenting. You've got this!
Conclusion
You now have all you need to make amazing grilled shrimp skewers. They're perfect for summer and will impress everyone. This recipe is a hit at any gathering.
These skewers are easy to make and can be enjoyed in many ways. They're great for a casual cookout or a fancy dinner party. The smoky taste and zesty chimichurri make them irresistible.
Feel free to customize the recipe to your liking. Try new herbs in the chimichurri or different marinades. You can also serve them with your favorite sides. Each time, you'll find new ways to improve the dish.
Prepping ahead of time makes this recipe even better. You can spend more time with your guests and less time cooking. Your friends will be amazed, but you'll know it's just good technique.
So, fire up the grill and get ready to make a dish that will wow everyone. It's going to be delicious and impressive!