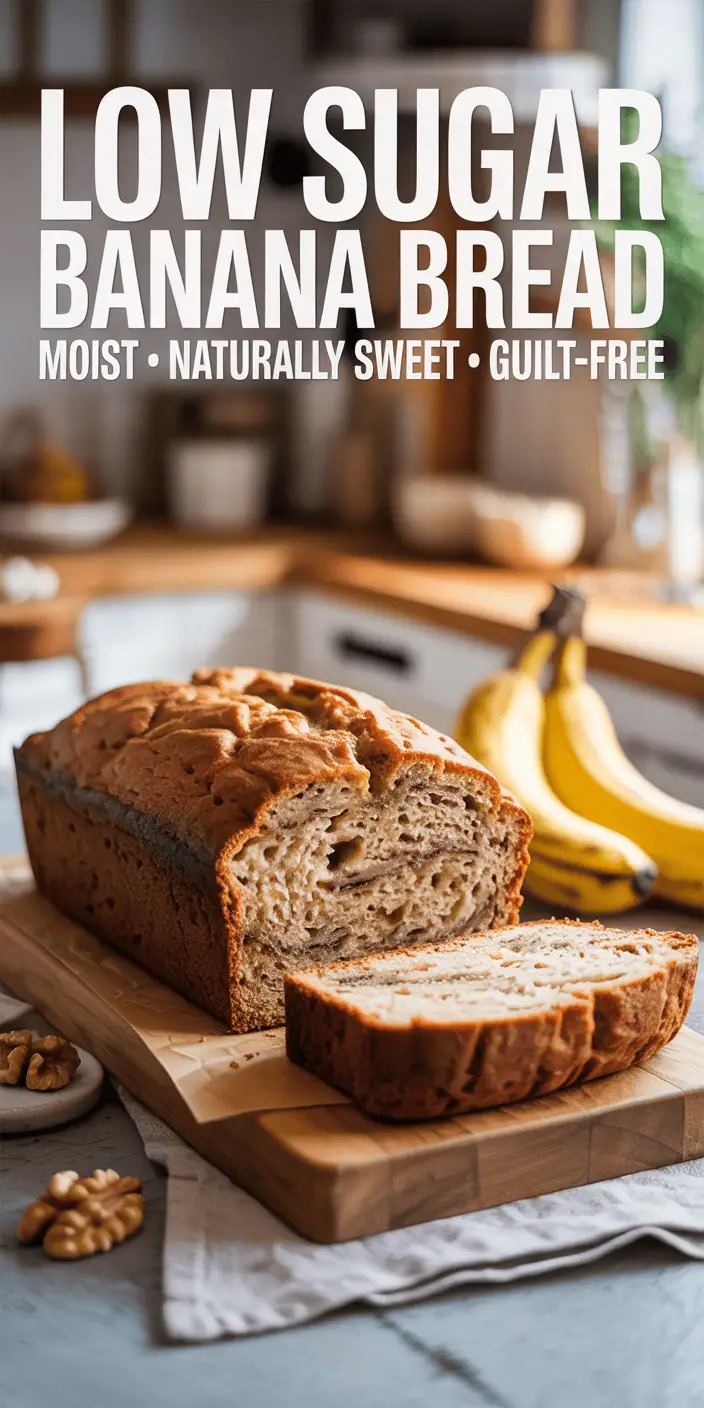
Welcome to my kitchen, where we're making the most amazing healthy banana bread recipe. Your whole family will ask for seconds! I'm excited to share this recipe with you. It shows that sugar-free baking doesn't mean losing flavor.
This isn't just any ordinary loaf. It's a guilt-free treat made with natural sweeteners and wholesome ingredients. And it has the perfect moist texture we all love!
Whether you're watching your intake, managing diabetes, or just want healthier choices, this recipe is for you. We'll go through every step together.
I promise you'll be amazed at how easy it is to make bakery-quality results at home. Get ready for the most delicious homemade treat that's also incredibly nutritious!
Why Choose Low Sugar Banana Bread Over Traditional Recipes
I'm really excited about this new way of making banana bread! Traditional recipes can have up to 1 cup of refined sugar. That's 200 grams of sugar that can really mess with your blood sugar.
Our healthy baking alternatives use the natural sweetness of ripe bananas. We add gentle natural sweeteners that don't raise your blood sugar.
You'll enjoy the sweetness without the crash later. And with less sugar, you can taste the banana and spice flavors better. These flavors make banana bread so good.
Choosing low sugar banana bread has many benefits:
- Better blood sugar control – great for diabetic-friendly baking
- Enhanced natural flavors – taste the real banana goodness
- Sustained energy levels – no sugar crashes
- Guilt-free enjoyment – have that second slice!
- Family-friendly option – kids love the balanced sweetness
My family loves this version because it's not too sweet. It's perfectly balanced and more satisfying than traditional recipes!
The best part? You can enjoy a slice (or two!) without feeling guilty. This way of healthy baking alternatives nourishes your body while you enjoy homemade treats.
Switching to this method means you're not just cutting sugar. You're making a more flavorful, nutritious, and satisfying treat for everyone. Trust me, once you try this, you'll never go back to old recipes again!
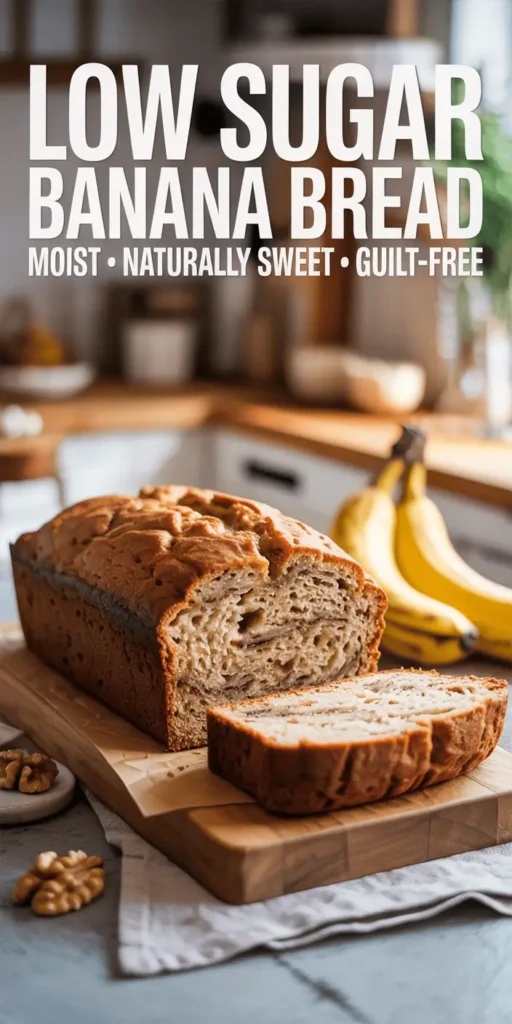
Essential Ingredients for Perfect Low Sugar Banana Bread
Choosing the right ingredients is key to baking moist banana bread with less sugar. The right mix of ingredients creates a perfect texture and flavor. Each part is important for the taste and feel of homemade banana bread.
I love talking about ingredients because it's where the baking journey starts! Reducing sugar doesn't mean losing taste or texture. We'll find natural alternatives and smart swaps to make your bread better.
Natural Sweeteners That Work Best
My top natural sweeteners for low sugar baking are amazing! Pure maple syrup adds a caramel-like depth that's perfect with bananas. It makes every bite special.
Raw honey brings floral notes that match banana flavors well. It also makes the bread tender and moist. Coconut sugar offers subtle sweetness with a hint of caramel.
The best natural sweeteners don't just replace sugar – they enhance the overall flavor profile of your bread while keeping it healthier.
These sweeteners need less liquid in your recipe. They also keep your banana bread moist longer!
Flour Options for Optimal Texture
All-purpose flour gives you that classic banana bread texture. It's reliable and consistent. For extra nutrition, try whole wheat pastry flour for fiber without heaviness.
Almond flour adds protein and makes a denser, nutritious bread. You can mix different flours for the best balance. Try half all-purpose and half whole wheat pastry flour.
Each flour affects moisture differently. Knowing this helps you make moist banana bread every time.
The Role of Ripe Bananas in Sweetness
Overripe bananas are perfect for baking! The riper they are, the sweeter your bread will be. Brown spots and softness mean they're ready.
Very ripe bananas have concentrated natural sugars. Three to four overripe bananas can sweeten your bread enough. They also make it moist.
The right banana bread ingredients work together when bananas are perfectly ripe. Trust me, those brown, mushy bananas are baking gold!
Kitchen Equipment and Tools You'll Need
This recipe is simple, and you likely have most of the kitchen equipment you need already. You don't need fancy gadgets or expensive tools to make something delicious.
Your banana bread pan is the main thing you'll need. A 9x5 inch loaf pan works great. Metal pans give a golden crust, but glass pans work well too. I've used both and gotten great results.
You'll need two mixing bowls. One big bowl for all ingredients and a medium bowl for dry ingredients. This makes mixing easier and keeps things organized. Having separate bowls really helps!
To mash bananas, a potato masher or a large fork works well. Sometimes, I prefer a fork because it gives better control over the banana texture.
You'll need measuring cups and spoons for accuracy. A whisk blends wet ingredients smoothly. A wooden spoon or rubber spatula is best for folding ingredients gently.
The most important tool in any kitchen is enthusiasm and the willingness to learn from each baking adventure.
A wire cooling rack helps your loaf cool properly. It prevents a soggy bottom. If you don't have one, a clean kitchen towel works too.
This recipe can be made by hand! While an electric mixer is nice, manual mixing gives better control. You can feel the batter's texture and avoid overmixing.
| Essential Tool | Primary Option | Alternative Option | Why It Matters |
|---|---|---|---|
| Loaf Pan | 9x5 inch metal pan | Glass loaf pan | Even baking and proper shape |
| Mixing Bowls | Large and medium bowls | One large bowl (careful mixing) | Organization and easy combining |
| Banana Masher | Potato masher | Large fork | Proper banana consistency |
| Measuring Tools | Standard cup and spoon set | Kitchen scale for precision | Accurate ingredient ratios |
This kitchen equipment list is easy to access. Most home bakers already have these basic tools. You're using what you have to create something amazing!
Baking is about joy and creativity. Don't worry if you're missing a few items. I've seen people make incredible banana bread with just the basics. Your enthusiasm and attention to detail matter more than having every tool!
Preparing Your Ingredients for Success
Before you start baking, let's get your ingredients ready! Proper banana bread preparation is key for the perfect texture and flavor. These simple steps will make your baking experience amazing!
Think of preparing ingredients as building a foundation for your masterpiece. When everything is ready, mixing becomes easy and your results are always great. These baking tips will become second nature and make a big difference!
Mashing Bananas to the Right Consistency
Many bakers mess up by under- or over-mashing bananas! Aim for 80% smooth with a few small lumps. This mix gives you even flavor and fun texture.
Use a fork or potato masher in a medium bowl. Mash gently, checking often. Those small lumps are flavor bombs that add interest to each bite!
Measuring Natural Sweeteners Accurately
Natural sweeteners like honey and maple syrup can be tricky. But, lightly oil your measuring cup first. This trick helps the sweetener slide out without sticking.
For accurate measurements, use liquid measuring cups for liquids and dry measuring cups for solids. Level off dry sweeteners with a knife but don't pack them. Precision in ingredient preparation leads to consistent results!
Room Temperature Ingredients Tips
Room temperature ingredients are vital for mixing and texture. Let your eggs, butter, and dairy sit out for 30-60 minutes before baking. This ensures smooth mixing without lumps.
In a rush? Warm eggs in a bowl of water for 5 minutes. Cut butter into small pieces and let it sit for 10-15 minutes. These baking tips save time and give you professional results.
Cold ingredients mix poorly and can make your bread dense. Take a few extra minutes for this step. Your taste buds will be grateful!
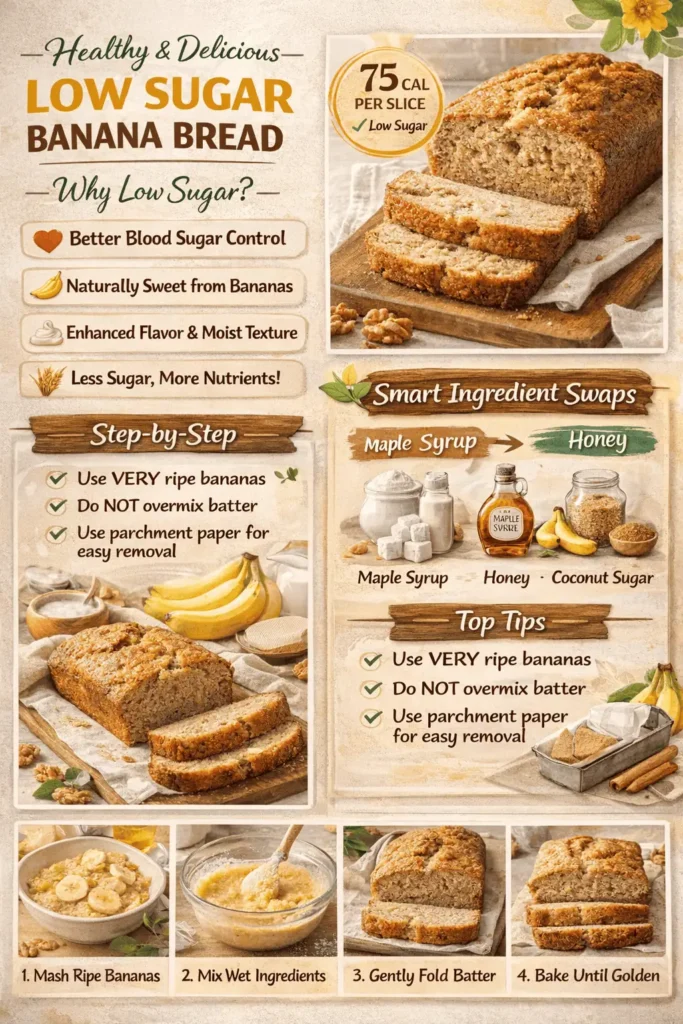
Step-by-Step Low Sugar Banana Bread Recipe
Let's turn those ingredients into tasty low sugar banana bread! This part of our banana bread recipe is exciting. Start by heating your oven to 350°F (175°C). Also, grease your 9x5-inch loaf pan well.
These baking instructions will help you every step of the way. We'll mix everything carefully to get the perfect texture and taste you're looking for!
| Step | Action | Time Required | Key Tips |
|---|---|---|---|
| 1 | Preheat oven and prepare pan | 10 minutes | Grease thoroughly to prevent sticking |
| 2 | Mix wet ingredients | 5 minutes | Whisk until completely smooth |
| 3 | Combine dry ingredients | 3 minutes | Whisk separately for even distribution |
| 4 | Fold wet and dry together | 2 minutes | Gentle folding prevents tough texture |
Mixing the Wet Ingredients
Get your large mixing bowl ready. We're making the wet ingredient base! Mix your mashed bananas, melted butter (or coconut oil), beaten eggs, and natural sweetener together. This is where the magic truly begins!
Whisk these ingredients until they're smooth and well-mixed. The bananas should blend well with the other ingredients. You'll see the mixture turn a lovely golden color!
Combining Dry Ingredients
In another bowl, we'll mix the dry ingredients. Use mixing techniques to whisk together your flour, baking soda, salt, and spices like cinnamon or nutmeg.
This step ensures your batter is evenly mixed. No lumps or uneven spice distribution here! Whisking the flour a bit helps make the bread lighter.
Folding Techniques for Perfect Texture
Folding is key in our baking instructions. Add your dry ingredients to the wet ingredients all at once. Resist the urge to use an electric mixer at this stage!
Use a rubber spatula to fold the ingredients gently. Stop when you don't see any dry flour streaks. The batter should be slightly lumpy and rustic.
Don't overmix to avoid tough bread. Gentle folding is the secret to tender, moist banana bread! Pour the batter into your pan and smooth the top a bit.
Baking Techniques for Moist Results
Getting that moist banana bread texture is all about the right baking technique. It's what turns your batter into a beautiful, golden loaf. The key is to avoid a dry, disappointing result and aim for a tender slice.
Baking is both an art and a science. You need the right temperature, timing, and oven position for success. Here are my top tips for amazing results every time!
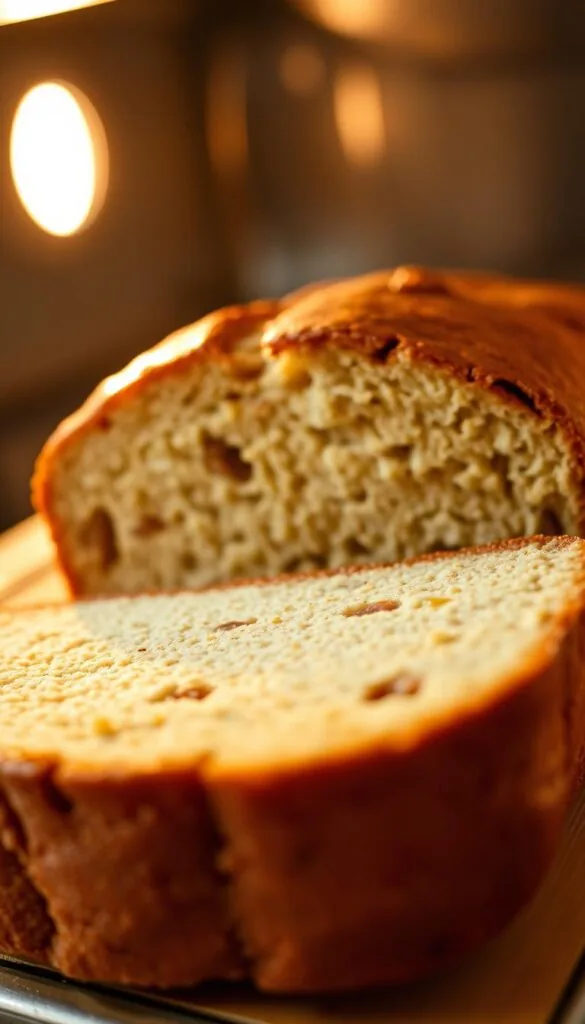
Oven Temperature and Positioning
The ideal baking temperature for banana bread is 350°F. It's not too hot or too cool, but just right. This temperature helps the bread rise and get a golden crust while cooking the center well.
Place your oven rack in the center for even heat. This ensures your bread bakes evenly from all sides. Never put it too high or too low - the center is best!
For extra moisture, use a small oven-safe dish of water on the bottom rack. This creates steam that keeps your bread moist. It's like a spa treatment for your bread!
Timing Guidelines for Different Pan Sizes
Your baking time varies with pan size, so don't guess. For a standard 9x5 inch loaf pan, bake for 55-65 minutes. This ensures a golden exterior and a fully cooked center.
Mini loaf pans are great for gifts and bake in 35-45 minutes. They cook faster, so watch them after 30 minutes.
Muffin tins are also a good choice. Individual moist banana bread muffins bake in 18-22 minutes. They're perfect for quick breakfasts or snacks.
Halfway through baking, check if the top is getting too dark. If it is, cover it with foil to prevent burning. The aroma will be amazing - that's when you know it's going well!
Remember, every oven is different. These times are just guidelines. Trust your nose and use the toothpick test for perfect results every time!
Testing for Doneness Without Overbaking
The moment of truth arrives when you need to test your banana bread for doneness without ruining all your hard work! Getting this step right is absolutely key for achieving that perfect texture we're all after.
The toothpick test is the gold standard among all baking tests. Insert a clean toothpick into the center of your loaf. You're looking for just a few moist crumbs clinging to it. If it comes out completely clean, you might have overbaked slightly – but don't worry, it'll taste amazing!
If there's wet batter on the toothpick, give your bread another 5-10 minutes and test again. Patience is key here – rushing this step can lead to disappointing results.
I absolutely love the gentle press test too! Lightly press the center of the loaf with your finger, and it should spring back slowly. This simple technique tells you so much about your bread's internal structure.
Visual cues are equally important for banana bread doneness. Your perfectly baked loaf should be pulling slightly away from the sides of the pan. The top should have a beautiful golden-brown color that makes your kitchen smell absolutely incredible!
For those who love precision, an instant-read thermometer is your best friend. You're looking for about 200°F (93°C) in the center. This temperature ensures your bread is cooked through without being overdone.
Trust your senses during these final baking tests! The aroma should be rich and inviting, filling your entire kitchen with that unmistakable banana bread scent. Remember, it's always better to check a few minutes early than to overbake – you can always put it back in, but you can't undo overbaking!
Cooling and Storage Best Practices
Proper cooling and storage can make your banana bread amazing. It's tempting to cut into it right away. But waiting a bit will give you the best texture and taste.
How you handle your bread in the first hours is key. Cooling bread properly is a must for the best results!
Proper Cooling Techniques
Let your banana bread rest in the pan for 10 to 15 minutes after baking. This helps the inside set right. If you take it out too soon, it will fall apart.
Then, place it on a wire rack. This step is key to avoid soggy bottoms! The rack lets air circulate, cooling the bread evenly.
Waiting for your bread to cool completely is the hardest part. It takes about 2 hours. If you slice too soon, you'll get gummy pieces instead of clean cuts.
"The secret to great banana bread isn't just in the baking – it's in the patience you show afterward."
Short-term and Long-term Storage
To keep bread fresh for up to 3 days, wrap it tightly in plastic wrap. You can also use an airtight container at room temperature. Never store warm bread – it will get soggy!
Your banana bread freezes well for longer storage. Wrap slices in plastic wrap, then put them in a freezer bag. They stay good for up to 3 months.
When you're ready to eat frozen slices, you have choices. Toast them from the freezer for a warm treat, or thaw them at room temperature for 30 minutes. Both ways work great!
Pro tip: If your bread feels dry after a day or two, a quick microwave zap can make it soft again. Just be careful not to overheat it.
Remember, proper storage is just as important as proper baking when it comes to enjoying your delicious creation!
Troubleshooting Common Low Sugar Baking Issues
Understanding common banana bread problems makes baking easier. I've seen the same issues over and over. Each one has a simple fix. Let's look at the most common challenges and their proven baking solutions.
Low sugar baking gets easier once you master these fixes. Most problems come from a few key factors you can control!
| Problem | Most Likely Cause | Quick Fix | Prevention Tip |
|---|---|---|---|
| Dense, Heavy Texture | Overmixing batter | Fold gently until just combined | Stop mixing when you see streaks of flour |
| Not Sweet Enough | Under-ripe bananas | Add extra tablespoon of sweetener | Use bananas with brown spots |
| Dry, Crumbly Bread | Overbaking or low moisture | Add Greek yogurt to batter | Check doneness 5 minutes early |
| Sunken Center | Opening oven door too often | Resist checking until 45 minutes | Use oven light instead of opening door |
Dense or Heavy Texture Solutions
Dense texture is a common issue with low sugar banana bread. The main cause is overmixing the batter. This develops gluten, making the bread tough and heavy.
To avoid this, fold wet and dry ingredients together gently with a spatula. Stop when you don't see dry flour streaks. Trust me – a few lumps are okay!
Using too much flour is another problem. Always use the spoon-and-level method to avoid packing flour into your measurements.
Lack of Sweetness Fixes
If your banana bread isn't sweet enough, don't worry! There are easy fixes. First, use extra-ripe bananas with lots of brown spots. They have more natural sugar.
Boost sweetness by adding an extra tablespoon of natural sweetener. A pinch of vanilla or cinnamon can also make it taste sweeter without adding sugar.
Before adding bananas to the batter, taste them. If they're not sweet, adjust your sweetener.
Dry Bread Prevention
Dry bread often comes from overbaking or not enough moisture. The key is not opening your oven door too often. This prevents temperature changes that dry out the bread.
To add moisture, mix in an extra mashed banana or a tablespoon of Greek yogurt. These add natural moisture without changing the texture.
Remember, every oven is different! Start checking for doneness 5 minutes before the recommended time. Your baking skills will get better with each loaf.
Delicious Variations and Add-ins
Explore the world of banana bread variations to make your loaf irresistible! You can make the recipe your own and create something special for your family.
Low sugar banana bread is versatile. You can turn a basic loaf into many banana bread flavors with simple additions. I love trying different combinations – it's always exciting!
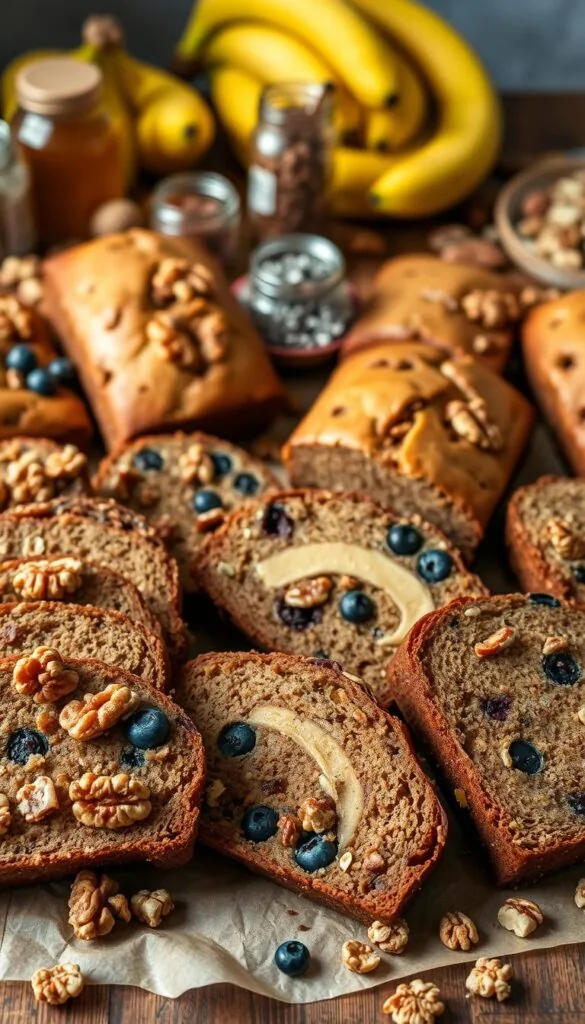
Nuts and Seeds Options
Walnuts are a classic choice, adding a lovely crunch and richness. Use about ½ to ¾ cup for the best balance.
Pecans create a divine flavor, even better when toasted lightly. The nutty aroma is amazing! Try chopped almonds or sunflower seeds for something different.
Chia seeds are great healthy add-ins. They boost nutrition without changing the taste. They add a subtle crunch and extra fiber.
Spice Combinations
Cinnamon is a classic spice that pairs well with bananas. But don't stop there – add a pinch of nutmeg or cardamom for warmth and complexity.
A little ginger adds an amazing flavor. My favorite is cinnamon-vanilla, which is heavenly!
These spice variations can change your bread into unique banana bread flavors. They will surprise and delight everyone.
Chocolate Chip Alternatives
Try sugar-free chocolate chips or cacao nibs for intense chocolate flavor. Dark chocolate with 70% cocoa or higher works well too.
Swirl in a tablespoon of natural almond butter or peanut butter for extra richness. Fresh blueberries or chopped strawberries make gorgeous seasonal variations!
Remember to toss add-ins in a little flour before folding them in. This prevents them from sinking to the bottom.
| Add-in Type | Amount | Prep Method | Flavor Profile |
|---|---|---|---|
| Walnuts | ½-¾ cup | Roughly chopped | Rich, earthy crunch |
| Cinnamon | 1-2 teaspoons | Mix with dry ingredients | Warm, classic spice |
| Dark Chocolate | ⅓ cup | Chopped, tossed in flour | Rich, less sweet |
| Chia Seeds | 2 tablespoons | Add directly | Mild, nutritious crunch |
These healthy add-ins let you create endless variations. Start with one or two additions, then experiment as you discover your favorites!
Nutritional Benefits and Health Considerations
This low sugar banana bread is not just tasty. It's also full of health benefits! By using natural sweeteners instead of refined sugar, we avoid big blood sugar spikes. This helps you feel less tired and less hungry for more sugar later.
Bananas are nutritional powerhouses. They're full of potassium for heart health, vitamin B6 for brain function, and fiber for your digestive system. Adding whole grain flours gives you even more fiber, B vitamins, and minerals your body needs.
Natural sweeteners like pure maple syrup have antioxidants and minerals that refined sugar lacks. This means you get real nutrition from your sweetener, not just empty calories! Adding nuts or seeds to your batter increases the protein and healthy fats.
The nutritional benefits make this bread more satisfying and balanced. It gives you sustained energy instead of a quick sugar rush that crashes later. It's a great choice for breakfast or an afternoon snack when you need lasting energy!
| Nutrient Component | Traditional Banana Bread | Low Sugar Version | Health Impact |
|---|---|---|---|
| Sugar Content | High refined sugar | Natural sweeteners | Stable blood sugar levels |
| Fiber | Low (white flour) | High (whole grains + bananas) | Better digestion and satiety |
| Antioxidants | Minimal | Rich (maple syrup + bananas) | Cellular protection |
| Glycemic Response | Rapid spike | Gradual rise | Sustained energy |
Remember, this is a treat and should be enjoyed in moderation! But you can feel good about serving this healthy banana bread to your family. The low sugar benefits make it great for anyone managing diabetes, watching their sugar intake, or making healthier choices.
We're not giving up the foods we love. We're just making them better for our bodies! Every slice of this banana bread gives you real nutrition along with that comforting flavor we all love.
Serving Suggestions and Pairings
Low sugar banana bread is amazing for any time of day. I'm excited to share my favorite banana bread serving ideas. They'll make your bread stand out.
For breakfast ideas, try a warm slice with almond butter. The nutty taste goes great with banana. Add a little honey for sweetness without too much.
Pairing Greek yogurt with fresh berries is a great healthy pairing for banana bread. It's packed with protein, probiotics, and antioxidants. It's a nutritious way to start your day!
For afternoon coffee or tea, serve room temperature slices. The flavors get better when the bread isn't warm. It's perfect with your favorite hot drink.
Want to impress guests? Try these special banana bread serving techniques:
- Toast slices lightly and top with whipped cream cheese mixed with vanilla and cinnamon
- Serve with a dollop of Greek yogurt and a sprinkle of chopped nuts
- Create mini sandwiches using thin slices with natural nut butter
- Pair with herbal tea for a relaxing afternoon treat
For kids' lunchboxes, wrap individual slices in parchment paper. They'll feel special, and you'll know they're eating well.
During holidays, this bread makes great gifts. Wrap it in cellophane with ribbons. Your friends and family will love the homemade touch.
Get creative with these healthy pairings for weekend brunches:
- Use thick slices for French toast with a touch of maple syrup
- Create a bread pudding with low-fat milk and vanilla
- Serve alongside scrambled eggs for a balanced meal
- Top with sliced strawberries and a sprinkle of powdered sugar
The possibilities are endless! Whether it's casual family breakfast ideas or elegant entertaining, this banana bread fits any occasion.
Conclusion
You've found something truly special with this low sugar banana bread recipe! I'm thrilled for you to see how great healthy baking can taste. It's all about using the right techniques and ingredients.
This homemade bread shows you can cut sugar without losing flavor or that perfect moist texture. The natural sweetness from ripe bananas, combined with natural sweeteners, makes it even tastier than traditional bread.
Your success in healthy baking comes from embracing the process and trusting these methods. Every time you make this bread, you're choosing to nourish your family. And they'll love it.
Don't be afraid to try new things. Add nuts, experiment with spices, or create your own twist! Baking should make you happy and confident in your kitchen.
Remember, each slice of this low sugar banana bread is a win for your health goals. It doesn't sacrifice taste. You're making memories and supporting your family's wellbeing.
Now, go preheat your oven and fill your kitchen with amazing smells! Your homemade bread adventure is starting. And I know you'll love every bite.