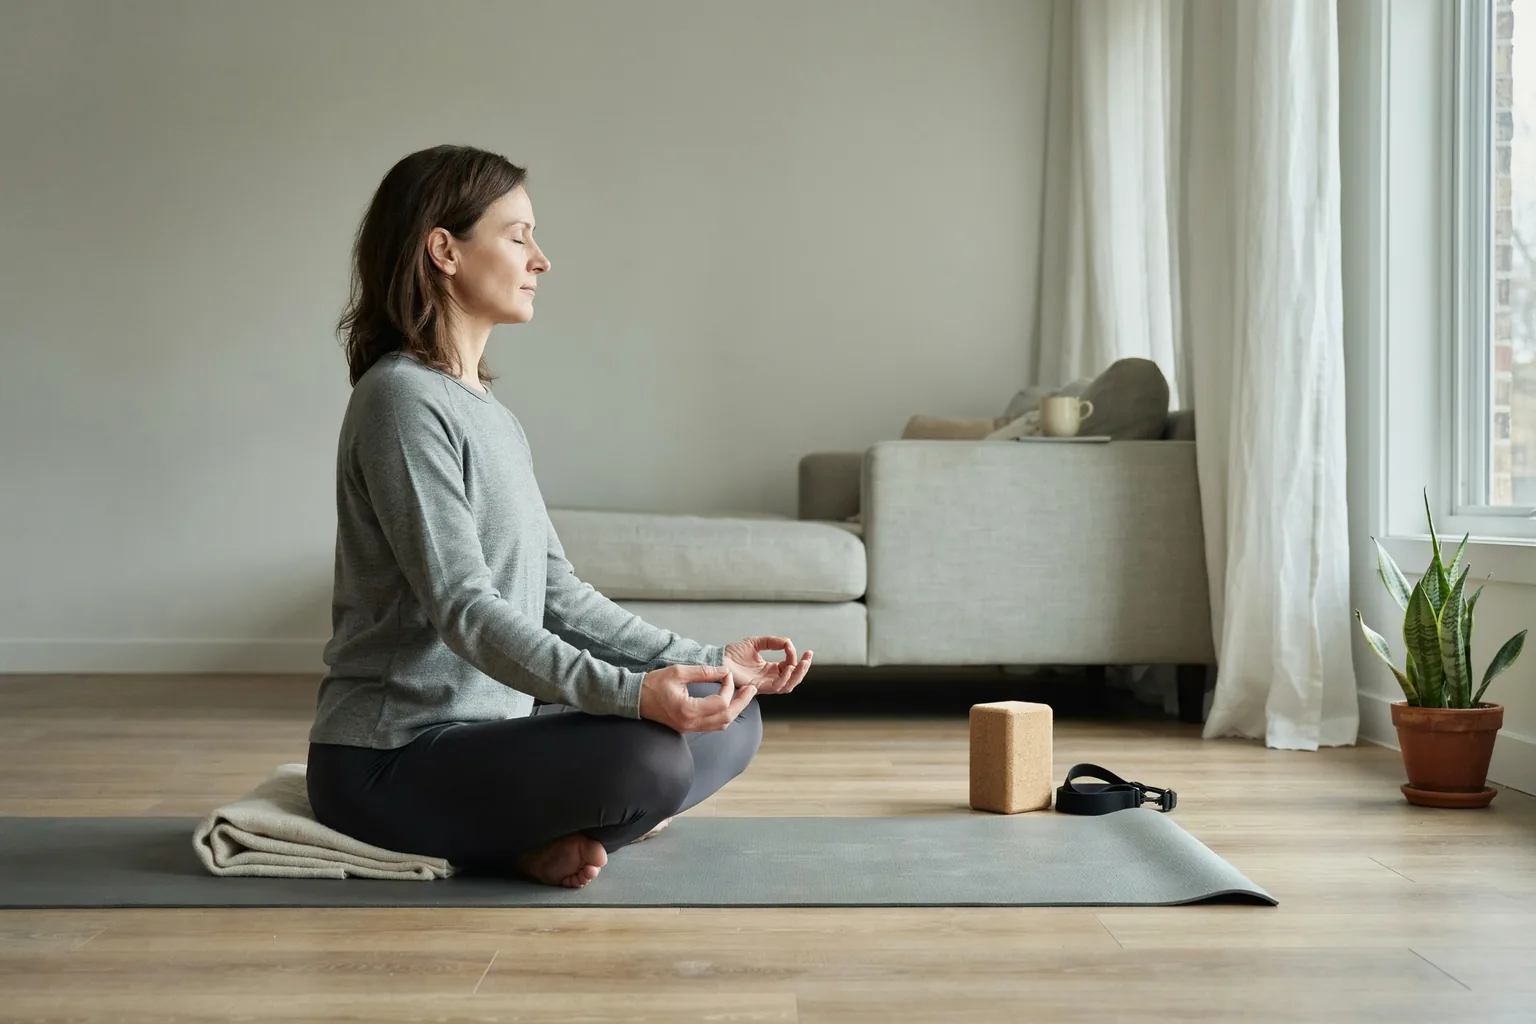
You do not need to be flexible to start yoga. You need a mat or a carpeted floor, comfortable clothes and about 15 minutes. This guide walks you through eight beginner poses with plain-language steps, modifications for tight hips, sensitive knees or wrists, and a short sequence you can repeat a few times a week. It focuses on movement and breathing rather than on perfect shapes.
Do the 15-minute sequence below 2 to 3 times a week. Move slowly, breathe through your nose if comfortable and back off any pose that causes sharp pain, tingling or numbness. Stretching should feel like a mild pull, not pain.
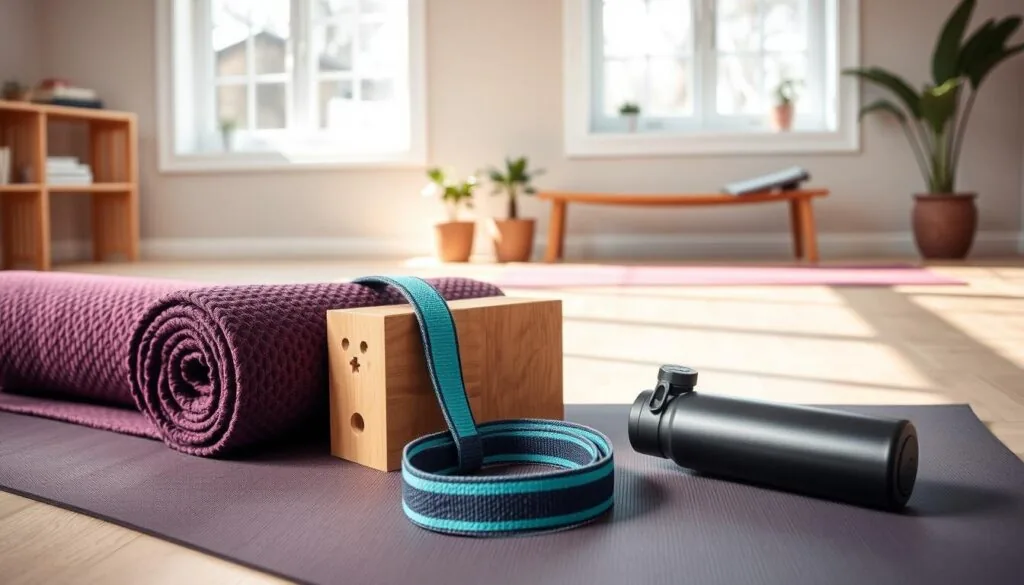
What you need
- A mat or a non-slip floor. A folded towel can pad knees.
- Optional props: a yoga block (or a firm book), a strap (or a belt) and a folded blanket.
- Loose, stretchy clothes and bare feet or grippy socks.
- An empty stomach or a light meal eaten 1 to 2 hours earlier is comfortable for most people.
The National Center for Complementary and Integrative Health (NCCIH) describes yoga as generally safe when practiced with proper technique, and notes that sprains and strains are the most common injuries. Take extra care, and check with your health care provider first, if you are pregnant, have glaucoma, severe high blood pressure, balance problems or a hip, knee or spine condition. Avoid hot yoga if you are pregnant.
Eight beginner poses
Interactive pose guide
See each beginner pose clearly
Move through the eight poses one at a time. The illustrations use only subtle motion cues so the posture itself stays clear and anatomically readable.
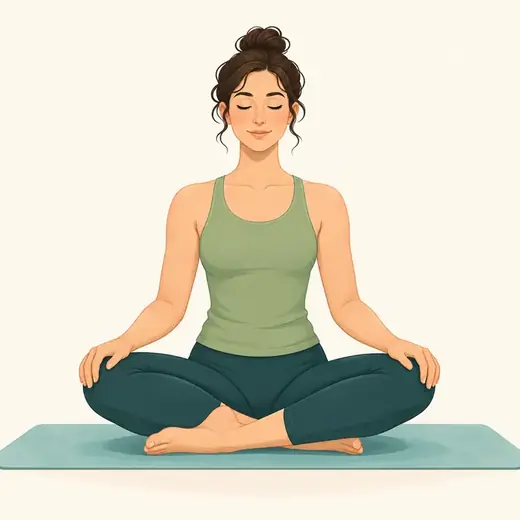
Easy seat with breathing
Sit cross-legged on a folded blanket, lengthen your spine and let your shoulders soften.
1. Easy seat with breathing
Steps: Sit cross-legged on a folded blanket so your hips are above your knees. Rest hands on thighs, lengthen your spine and take 5 slow breaths.
Modification: Sit in a chair with feet flat if the floor is uncomfortable.
2. Cat-cow
Steps: On hands and knees, inhale as you drop your belly and lift your chest slightly (cow), exhale as you round your spine (cat). Repeat 8 times.
Modification: Place a folded blanket under knees. If wrists hurt, make fists or use forearms.
3. Child's pose
Steps: Kneel, sit back toward your heels and fold forward with arms stretched or resting beside you. Stay for 5 breaths.
Modification: Place a pillow between hips and heels, or rest your forehead on stacked fists.
4. Downward-facing dog (bent knees)
Steps: From hands and knees, tuck toes and lift hips up and back into an upside-down V. Keep knees bent and press the floor away.
Modification: Do it with hands on a counter or the wall if wrists or shoulders are sensitive.
5. Low lunge
Steps: From downward dog or hands and knees, step one foot between your hands and lower your back knee to the floor. Lift your torso and stay for 5 breaths.
Modification: Pad the back knee or keep hands on blocks.
6. Standing forward fold
Steps: Stand with feet hip-width apart, bend your knees generously and fold forward, letting your head hang. Hold your elbows or let hands rest on your shins.
Modification: Keep hands on a chair seat and let your back stay long.
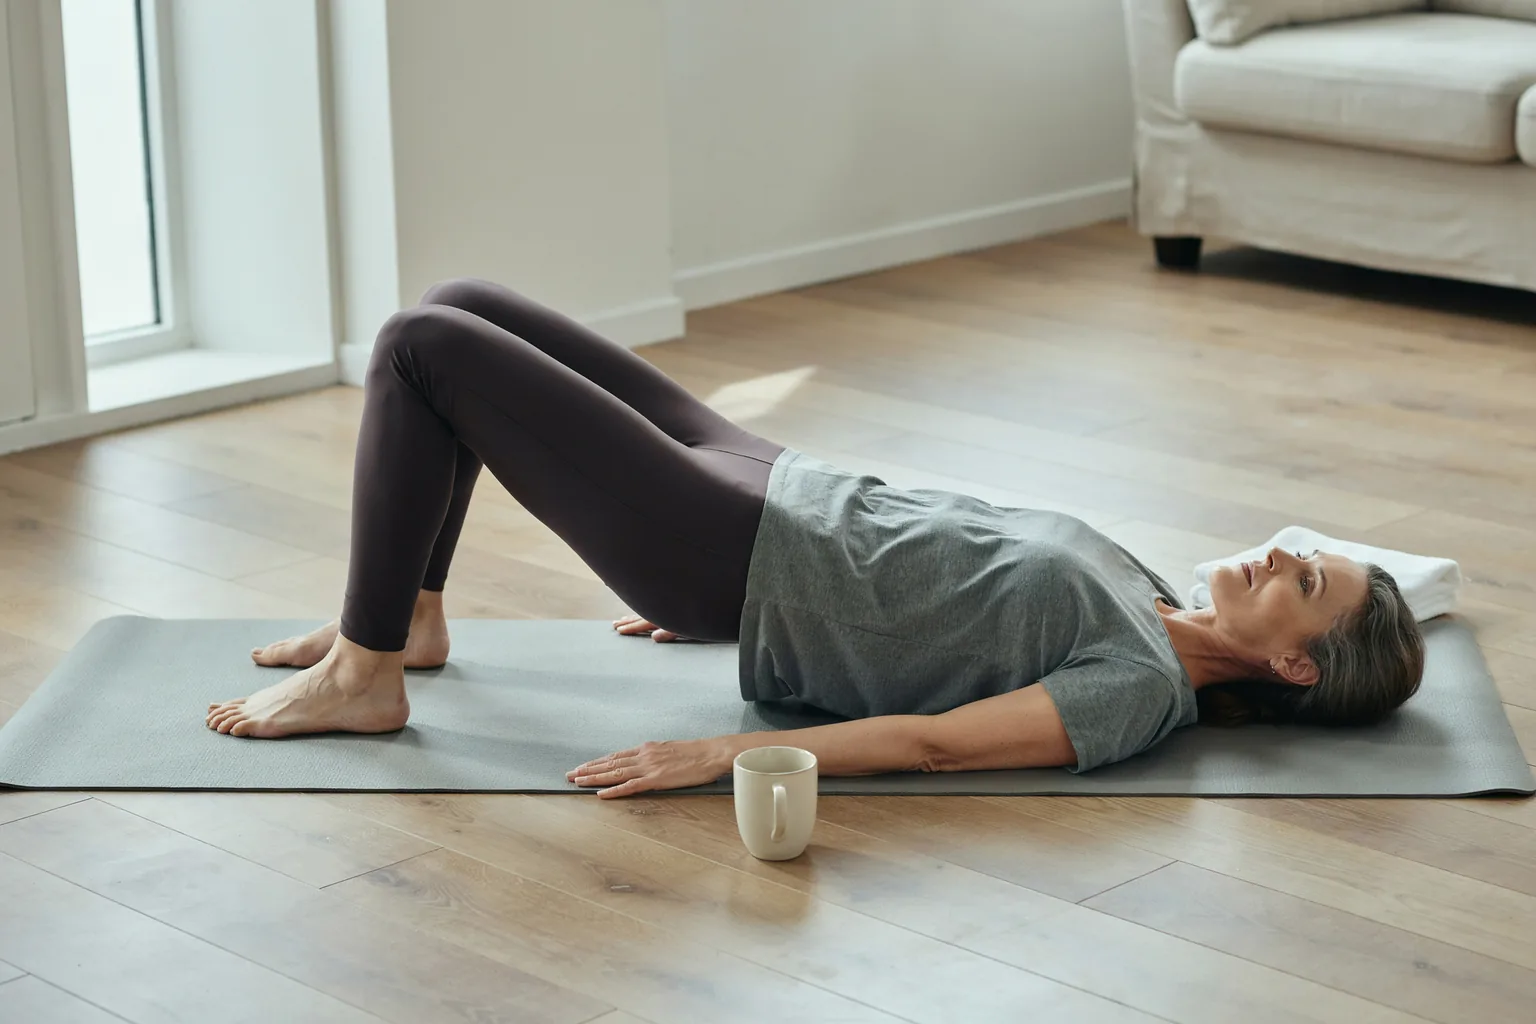
7. Bridge pose
Steps: Lie on your back with knees bent and feet flat. Press through feet and lift hips, keeping your neck relaxed. Lower slowly after 5 breaths.
Modification: Lift only a few inches, or place a block under your hips for support.
8. Reclined twist
Steps: Lie on your back, hug knees to chest, then let them fall to one side with arms out. Look the other way if it feels comfortable. Hold for 5 breaths per side.
Modification: Support your knees with a pillow.
A 15-minute beginner sequence
| Order | Pose | Time |
|---|---|---|
| 1 | Easy seat with breathing | 1 to 2 minutes |
| 2 | Cat-cow | 1 minute |
| 3 | Child's pose | 1 minute |
| 4 | Downward dog (bent knees) | 5 breaths, twice |
| 5 | Low lunge, each side | 5 breaths each |
| 6 | Standing forward fold | 1 minute |
| 7 | Bridge | 3 rounds of 5 breaths |
| 8 | Reclined twist, each side | 1 minute each |
| 9 | Final rest lying on your back | 2 minutes |
Breathing basics
Breathe slowly and steadily through your nose if you can. As a simple guide, inhale as you lengthen and exhale as you fold or twist. If you find yourself holding your breath, ease out of the pose. For a full guide to using yoga for relaxation, see our article on yoga poses for stress relief.
Common beginner mistakes
Pushing into pain. A stretch should feel mild, not sharp. Locking your knees or elbows. Keep a soft bend. Comparing yourself to photos or a class. Skipping props. Blocks and blankets are tools, not crutches. Holding your breath. If you cannot breathe steadily, back off.
Finding a class
Look for classes labeled "beginner," "gentle" or "Hatha." Online, choose a teacher who cues alignment and offers modifications. In person, arrive early and tell the teacher about any injuries or conditions. A good class encourages you to adjust poses rather than pushing you further.
Yoga is not a substitute for strength work or cardio. Combine it with walking and two strength sessions as shown in our weekly fitness plan.
FAQ
Do I need to be flexible to start yoga?
How often should a beginner practice?
Is yoga safe for people with back pain?
What should I wear?
Sources and further reading