
The hardest part of starting strength training is not the effort. It is knowing which exercises to pick, what a "starter" version looks like and when to make things harder. Most beginner lists give you one version of each move and leave you to guess.
This guide does the opposite. It gives you eight foundational exercises, each with three levels: a support version for day one, a standard version and a progression for when the standard version feels easy. You need a chair, a wall, a counter or stair and a couple of household items to load the moves later.
Start every exercise at Level 1. Do two sessions a week with a day in between. When you can complete 2 sets of 12 with steady form in two sessions in a row, move that exercise up one level. Progress one exercise at a time.
How to use this guide
The CDC recommends that adults do muscle-strengthening activity on at least 2 days a week, working all the major muscle groups: legs, hips, back, abdomen, chest, shoulders and arms. The eight exercises below cover those areas with simple movements. For the reasoning behind strength training and how to think about weights, see our beginner's guide to strength training.
The easiest version. Use a chair, wall or counter. Start here even if you think you are stronger.
The classic version with little or no support. Most beginners settle here after a few weeks.
A harder version, often with added weight. Move here only when Level 2 feels controlled and easy.
Before you start
- Warm up for 3 to 5 minutes. Walk, march in place or do arm circles.
- Choose stable surfaces. A sturdy chair against a wall, a counter or a stair with a rail.
- Use household weights. Water bottles, a jug of water or a backpack with books work for Levels 2 and 3.
- Breathe. Exhale while you push or lift, and never hold your breath.
- Move slowly. About 2 seconds to lift and 2 to 3 seconds to lower.
If you have a chronic condition, joint replacement, osteoporosis, high blood pressure that is not well controlled, or you are pregnant or postpartum, ask a health care provider before starting. Stop and seek help for chest pain, dizziness or unusual shortness of breath. Mild muscle tiredness is normal; sharp or joint pain is not.
The eight exercises
1. Sit-to-stand (legs and hips)
Steps: Sit near the front of a sturdy chair with feet flat and hip-width apart. Lean slightly forward, stand up, then lower back slowly.
- Level 1: Use a higher seat (add a cushion) and push off your thighs or the armrests.
- Level 2: Cross your arms and stand without using your hands.
- Level 3: Hold a water jug at your chest (a goblet squat) and lightly tap the chair before standing.
Watch for: knees drifting inward. Keep them in line with your toes.
2. Wall push-up (chest, shoulders and arms)
Steps: Stand an arm's length from a wall with hands at chest height. Keep your body in a straight line and bend your elbows until your chest approaches the wall, then press back.
- Level 1: Wall push-up, feet close to the wall.
- Level 2: Counter push-up, with hands on a sturdy counter or desk.
- Level 3: Lower surface, such as a bench or a low stair, then eventually knees on the floor.
Watch for: hips sagging or hips pushing up. Squeeze your glutes and keep a straight line.
3. Hip hinge (back of the legs and hips)
Steps: Stand with your back a few inches from a wall. Push your hips straight back until they tap the wall, keeping your back flat and knees slightly bent, then stand tall.
- Level 1: Hands on hips, tapping the wall.
- Level 2: Hold a light weight (a water bottle) with both hands in front of your thighs, without touching the wall.
- Level 3: Hold a heavier jug or a dumbbell in each hand and lower toward mid-shin, keeping a flat back (a Romanian deadlift).
Watch for: rounding your lower back. Stop the movement where your back can stay flat.
4. Glute bridge (hips and back)
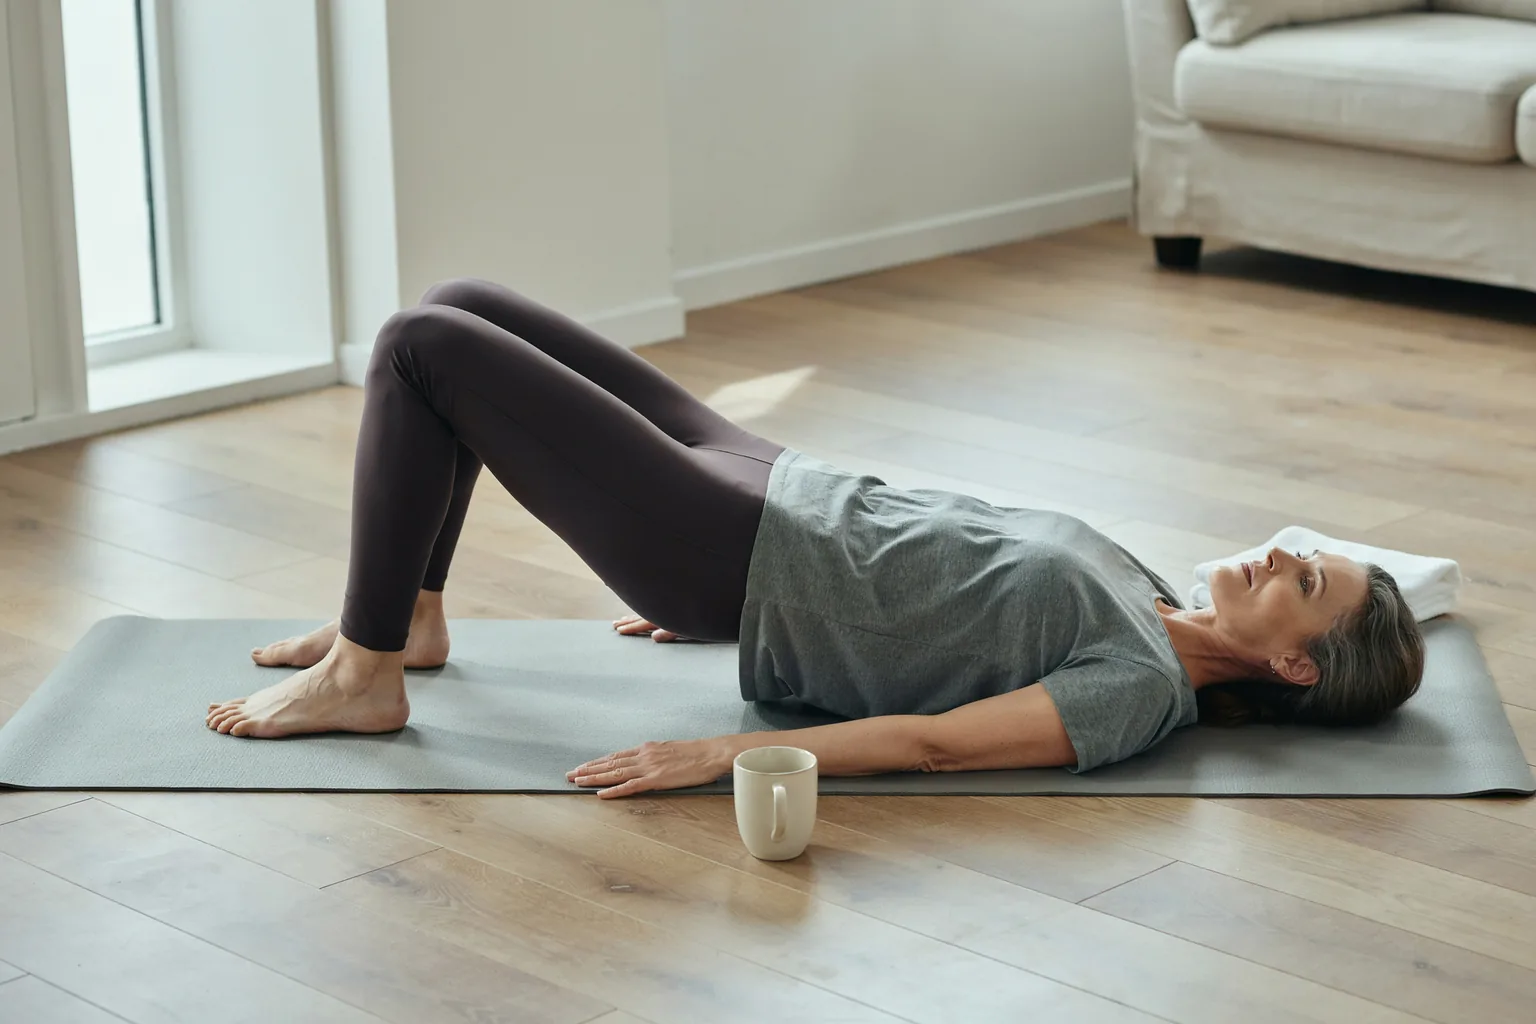
Steps: Lie on your back with knees bent and feet flat. Press through your heels to lift your hips until your body forms a line from shoulders to knees, then lower slowly.
- Level 1: Lift a few inches only.
- Level 2: Full lift with a 3-second hold at the top.
- Level 3: Single-leg bridge, with one foot lifted a few inches off the floor.
Watch for: arching your lower back. Keep your ribs down and use your glutes.
5. Supported one-arm row (upper back and arms)
Steps: Place one hand on a chair or counter and bend forward from the hips with a flat back. Hold a weight in the other hand, pull your elbow toward your hip and lower slowly.
- Level 1: Use a light item, such as a full water bottle.
- Level 2: Use a heavier jug or a light dumbbell.
- Level 3: Use a heavier dumbbell and pause for a second at the top.
Watch for: twisting your torso. Keep your shoulders level.
6. Step-up (legs and balance)
Steps: Face a low, sturdy step or the bottom stair. Step up with one foot, bring the other up, then step down slowly with control.
- Level 1: Bottom stair with a hand on the rail.
- Level 2: Same step without the rail.
- Level 3: A slightly higher step while holding a weight at your side.
Watch for: pushing off the trailing foot. Use your front leg to do the work.
7. Overhead press (shoulders and arms)
Steps: Hold a weight in each hand at shoulder height. Press straight overhead without arching your back, then lower slowly.
- Level 1: Seated in a chair, using two water bottles.
- Level 2: Standing with the same weights or slightly heavier jugs.
- Level 3: Standing with light dumbbells.
Watch for: leaning back to lift. Stand tall and squeeze your abs lightly.
8. Heel raise (calves and ankles)
Steps: Stand near a counter and rise onto the balls of your feet, then lower slowly.
- Level 1: Hold the counter with both hands.
- Level 2: Fingertips on the counter only.
- Level 3: Single-leg heel raises, with a hand nearby for safety.
Watch for: rolling to the outside of your feet. Rise straight up over the big toe.
Two starter workouts
Do Workout A and Workout B on non-consecutive days, for example Monday and Thursday.
| Workout A | Workout B |
|---|---|
| Sit-to-stand | Step-up |
| Wall push-up | Hip hinge |
| Glute bridge | Overhead press |
| Supported one-arm row | Heel raise |
A four-week schedule
| Week | Sets and reps | Rest between sets |
|---|---|---|
| 1 | 1 set of 8, all exercises at Level 1 | 30 to 60 seconds |
| 2 | 2 sets of 8 | 45 to 60 seconds |
| 3 | 2 sets of 10 | 45 to 60 seconds |
| 4 | 2 sets of 10 to 12; move up a level on any exercise that feels easy | 60 seconds |
Each workout takes about 15 to 20 minutes. If you only have 10 minutes, do one round of Workout A, or try our 10-minute home workouts.
How to know when to move up a level
- Move up when: you complete 2 sets of 12 with steady form in two sessions in a row, and the last few reps feel manageable rather than difficult.
- Stay put when: your form breaks down before the last few reps, or the exercise still feels wobbly.
- Move down when: you cannot finish 8 reps with good form or the exercise causes joint pain.
Change one exercise at a time so you can tell what is working.
Soreness, rest and pain
Mild muscle soreness for a day or two after a new exercise is common. Light walking helps. Joint pain, sharp pain, swelling or soreness that gets worse each day is a signal to reduce the load or stop and check with a professional. Leave at least one day between strength sessions that work the same muscles.
Common mistakes
Skipping Level 1. It teaches the movement and builds a base. Rushing the reps. Slow lowering is where much of the work happens. Adding weight before your form is steady. Doing everything on the same day as a long workout. Keep sessions short. Changing everything each week. Repeat the same workouts so you can see progress.
Where these exercises fit in your week
Two strength sessions plus walking make a solid base. Try adding a simple walking routine on other days, and use our weekly fitness plan guide to see how to schedule everything. If you want more work for your midsection, our beginner core routine is a natural companion, and our resistance band guide shows how to add variety.
FAQ
How many times a week should a beginner do strength exercises?
Do I need weights?
How long until I feel stronger?
Is it normal to be sore the next day?
Sources and further reading